Hi everyone!
This post will be a little bit different than usual on the blog and we’ll throw it back to when this was strictly a travel blog. As some of you may know I go to New York City a lot! Someone special to me lives there and so I make the trip as often as I can (usually every 1 1/2 months). There are many ways to get around where I live (train, flying, bus) however, the cheapest and most often fastest (surprisingly) way to get to NYC is by bus!
I’ve been doing this trip which can range from 7-14 hours for a while now and I think I’ve become an expert at bus travel and how to make it as bearable as possible. Obviously a lot of people view bus travel as a much less glamorous way to travel which is true, however, I save a lot of money and don’t have to deal with airports!
When most people think of a long bus trip a rather bleak image of a packed bus full of strange people comes to mind. Now you’re not completely wrong, however I’ve discovered many things I really enjoy about bus travel that may surprise you. I’ve also got some tips to help make your journey that much easier.
Step 1: Planning
Please remember – if you can, take an overnight bus. I get a lot of crazy looks for always taking overnight trips but the type of people who take these buses make your trip much more bearable compared to the “day crowd” filled with elderly people always bugging the driver and loud screaming children. You may be able to catch a few zzzs on the bus and you’ll wake up at your next destination!
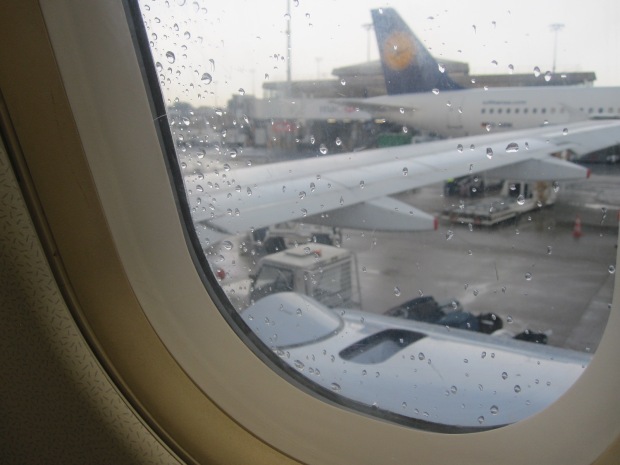
Ready to go!
Step 2: Packing
Each bus line has different standards of what they allow baggage wise but I recommend keep it to a small carry on case and a backpack or purse. Maximum. This ensures you’re mobile, able to carry your own luggage with ease and able to keep track of everything easily. When crossing borders sometimes you have to de-board and take all your belongings into the offices which can be a pain if your suitcase is too heavy to carry.
Step 3: Preboarding
Arrive at the bus station early. Arrive a couple hours early but certainly don’t be too last minute. I’ve seen people stranded because the bus filled up too quickly and they had to wait 5 hours for the next one. The earlier the better in this case. Now’s the time to make a quick pit stop at the bathroom, refill your water and maybe even brush your teeth (I always do, it’s like getting ready for bed). Get to your gate and wait.
Step 4: Boarding.
Choose your seat wisely. Try to sit in the middle because at the front you’ll find a lot of chatty people and in the back you find loud teens blasting music on their headphones. Not to mention you’re too close to the bathrooms back there. Try and keep as little as possible with you at your actual seat, and keep the rest up in the overhead storage. I usually keep with me my travel pillow, purse (wallet, passport, keys etc), water bottle, and maybe a blanket if it’s cold out.
Step 5: The Trip.
Okay you’ve made it on the bus. You’re comfy and settling in. I recommend bringing a tablet or phone to listen to music, watch videos etc. Usually the bus has wifi so it makes browsing Facebook nice and easy. A book is a good idea, but not during a night trip. Generally, I try and sleep as much as possible and listen to music to drown out outside noises.
Step 6: Stops
Depending on your driver you’ll usually make some stops along your journey or *rest breaks*. USE THESE! I see some people just stay on the bus and I cannot comprehend how their butt isn’t sore enough for them to not want to stand for 5 minutes. I always refill my water bottle, maybe grab a snack and hit the washroom in an indoor setting (I don’t mess around with the bathrooms in the bus).
Step 7: Arrival!
Congrats! By this point you’ve probably arrived at your destination. Hopefully you got to sleep for a little while, had a snack and you can now explore this new city!
The sunrise on the bus is my favourite thing to watch
I’ll likely be doing a post soon about my method for packing minimally, but until then I hope you enjoyed my “how to” on bus travel!
Until next time!


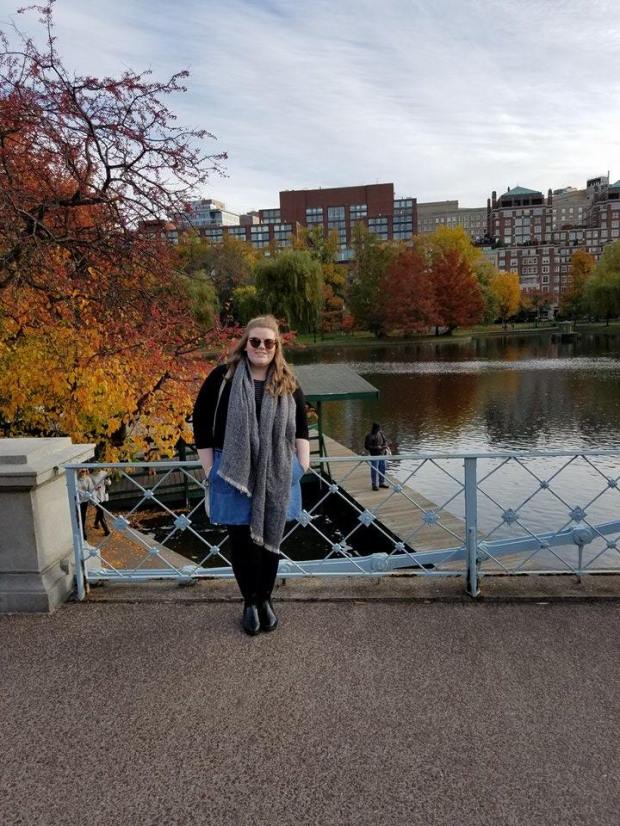
 From New York City it was about a 4 hour drive to get there. Since it was in November, we caught the trail end of the leaves changing on the way there. It was a beautifully sunny drive. We stayed in a cute little hotel called